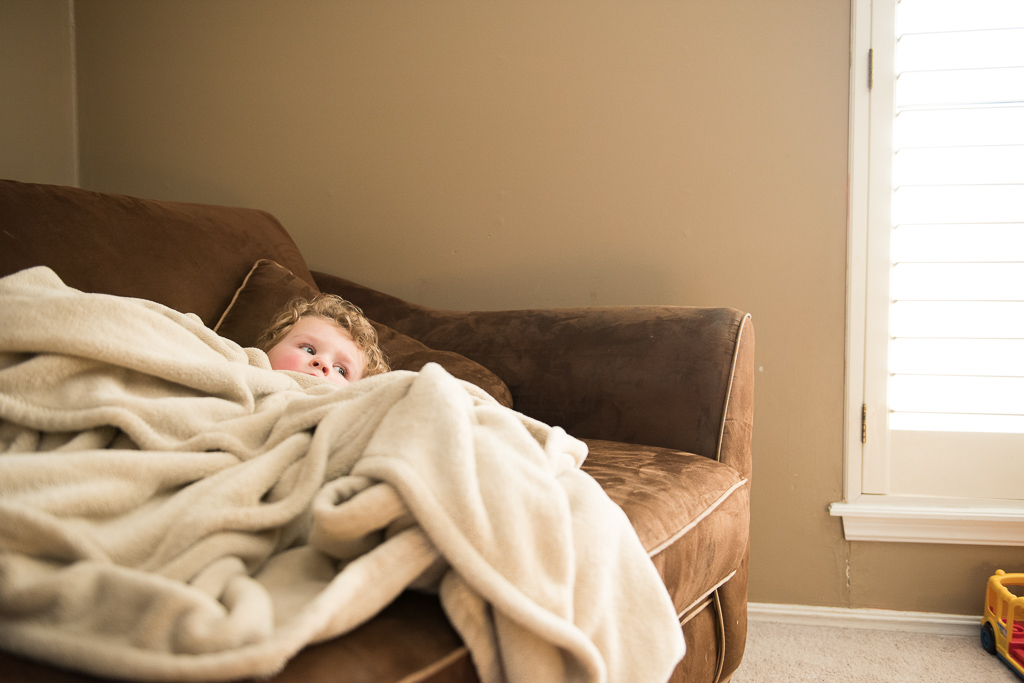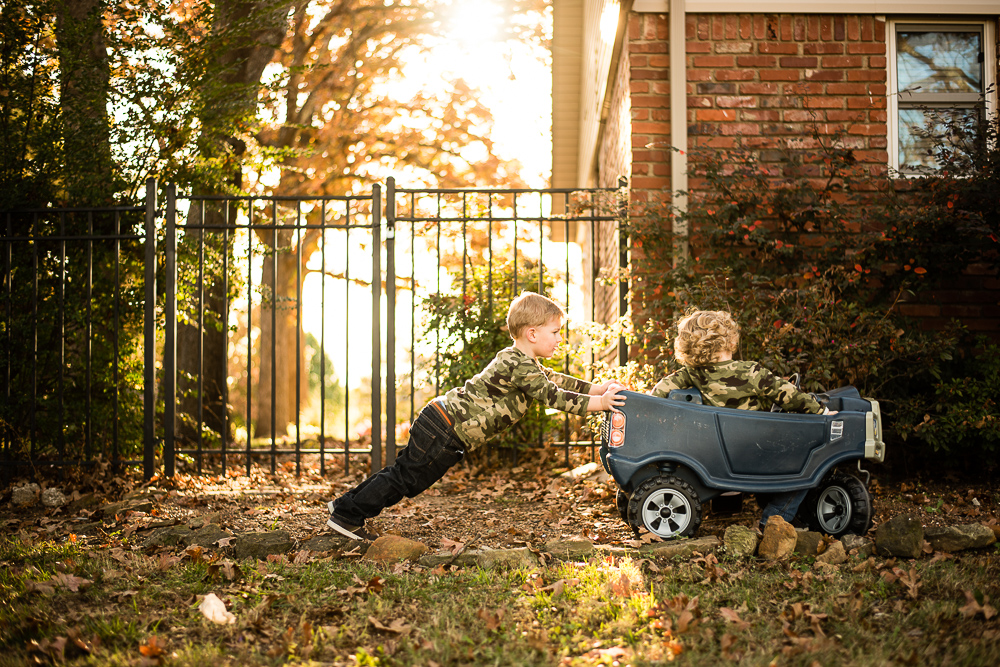
Find a spot in your home with abundant natural light. For me it's my living room window. Pull back below.
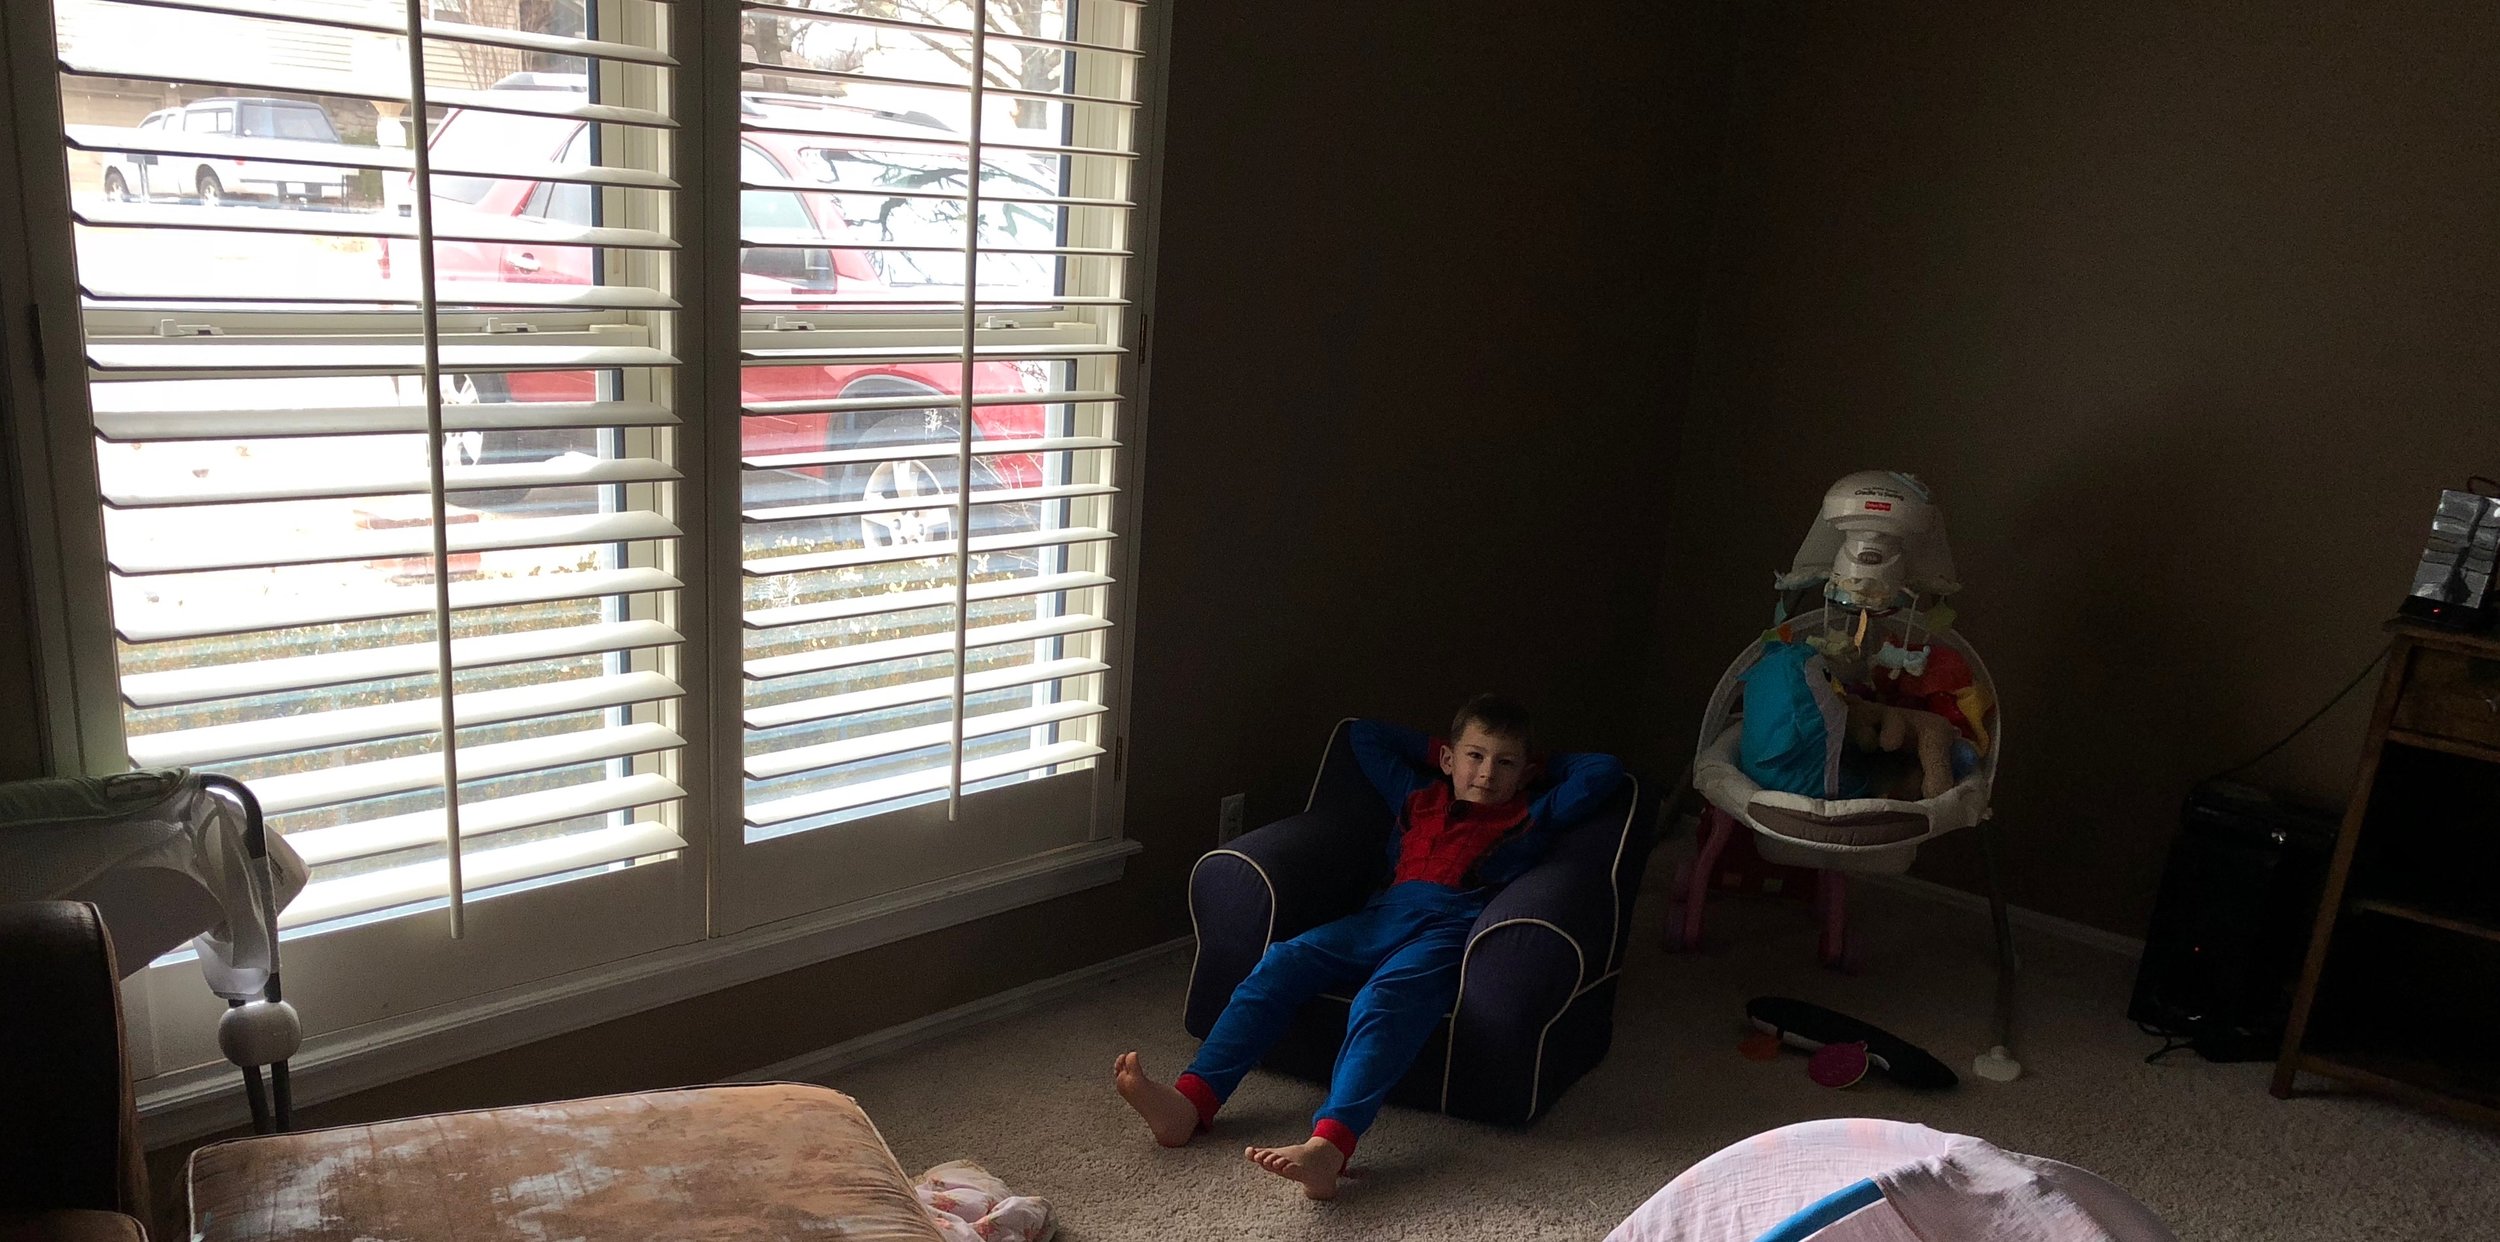
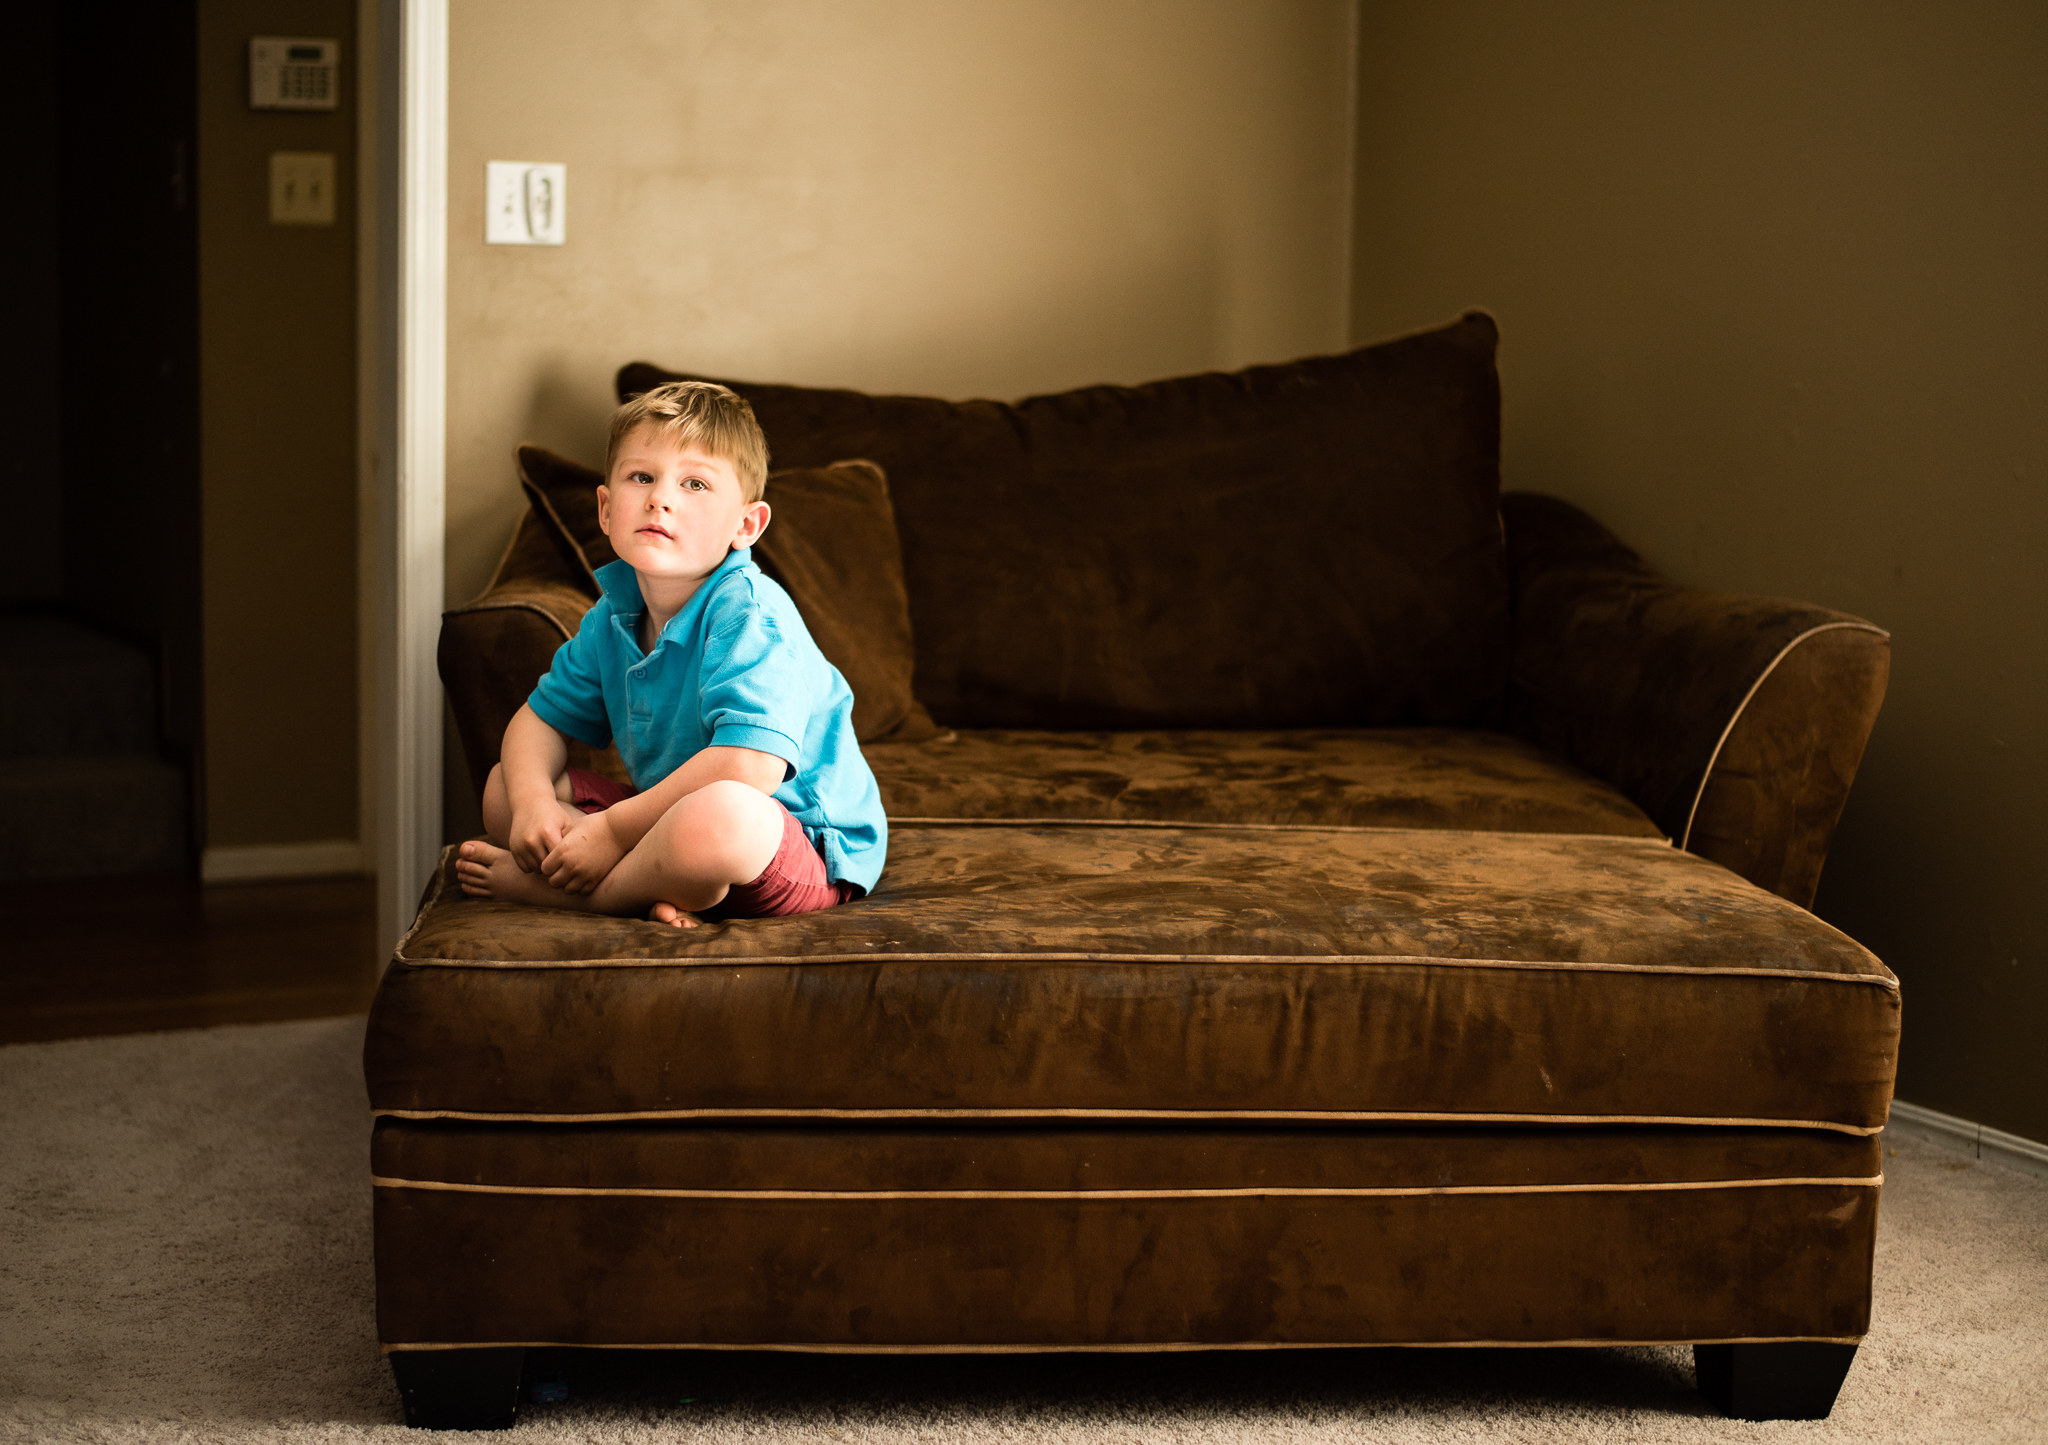
Place your subject in the window light. Your subject can be a person or object. Set your camera to ISO 125, F 1.8 and shutter speed 1/250. Take picture of your subject. Depending on where you are shooting and how much light is available. It may or may not look similar to the picture below.

Because I'm shooting on an overcast day, my window light is very diffused and soft. At these settings, my picture is what we'd call underexposed. I need to adjust my settings. I like my shutter speed where it is. The room is dim and I'm already shooting "wide open" at 1.8. The rings in my lens are as wide as they can go. My only solution in this situation is to change my ISO. Going up in number. I want you to do the same and see what happens to your picture.
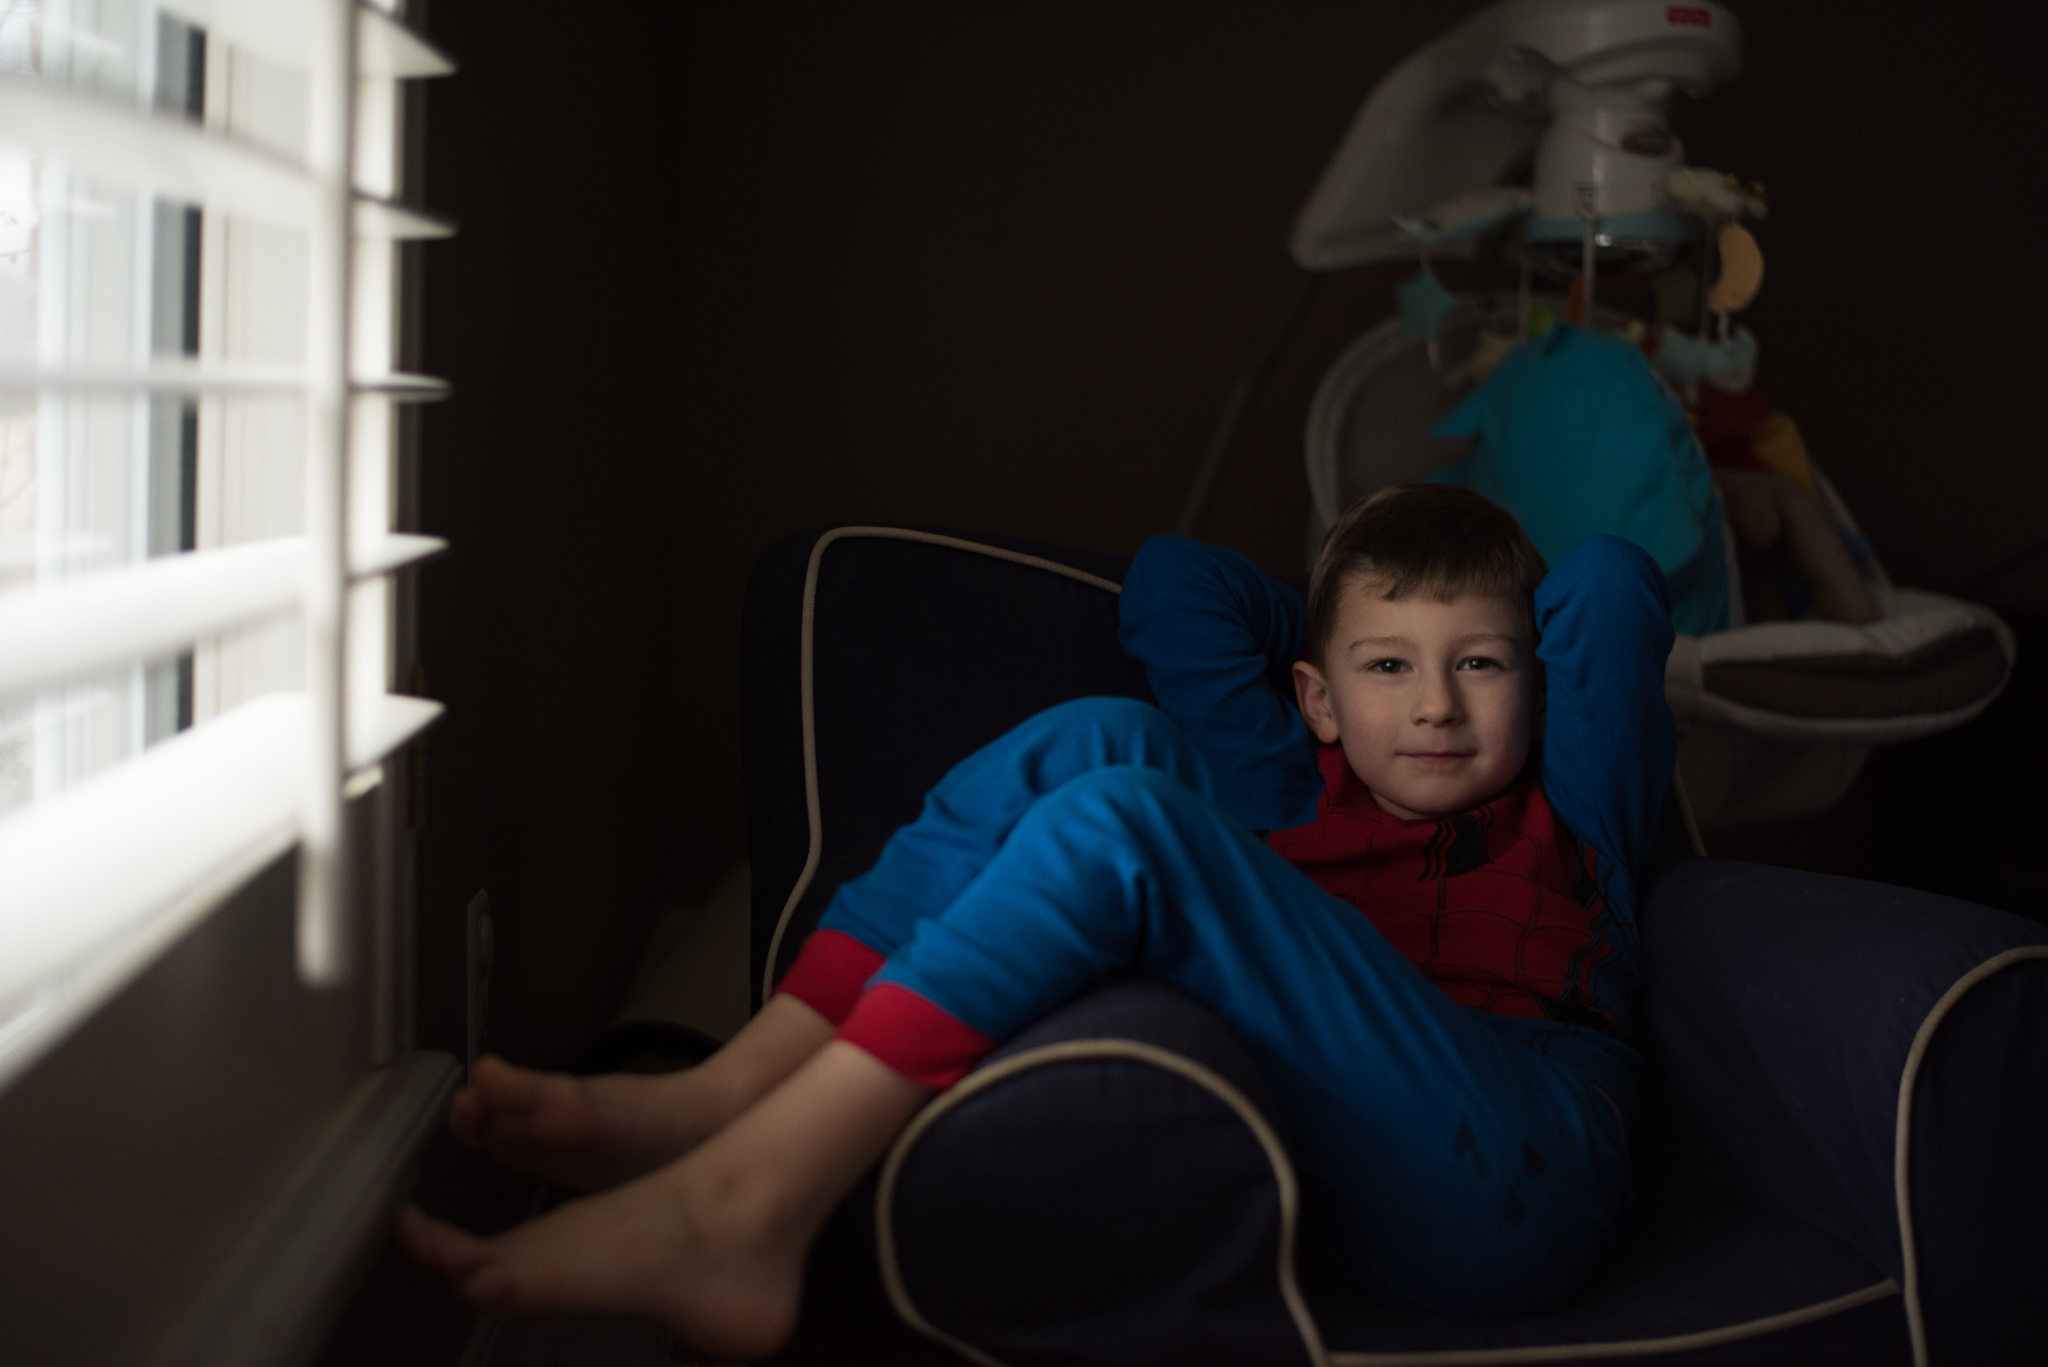
I bumped my ISO up to 1000. This causes my camera to pick up more detail. It's not as dark as the first picture, but I'm still under exposed. I like my shutter speed and aperture where they are for this picture. My only other choice is to bump up my ISO again. I want you to do the same. ISO 2500
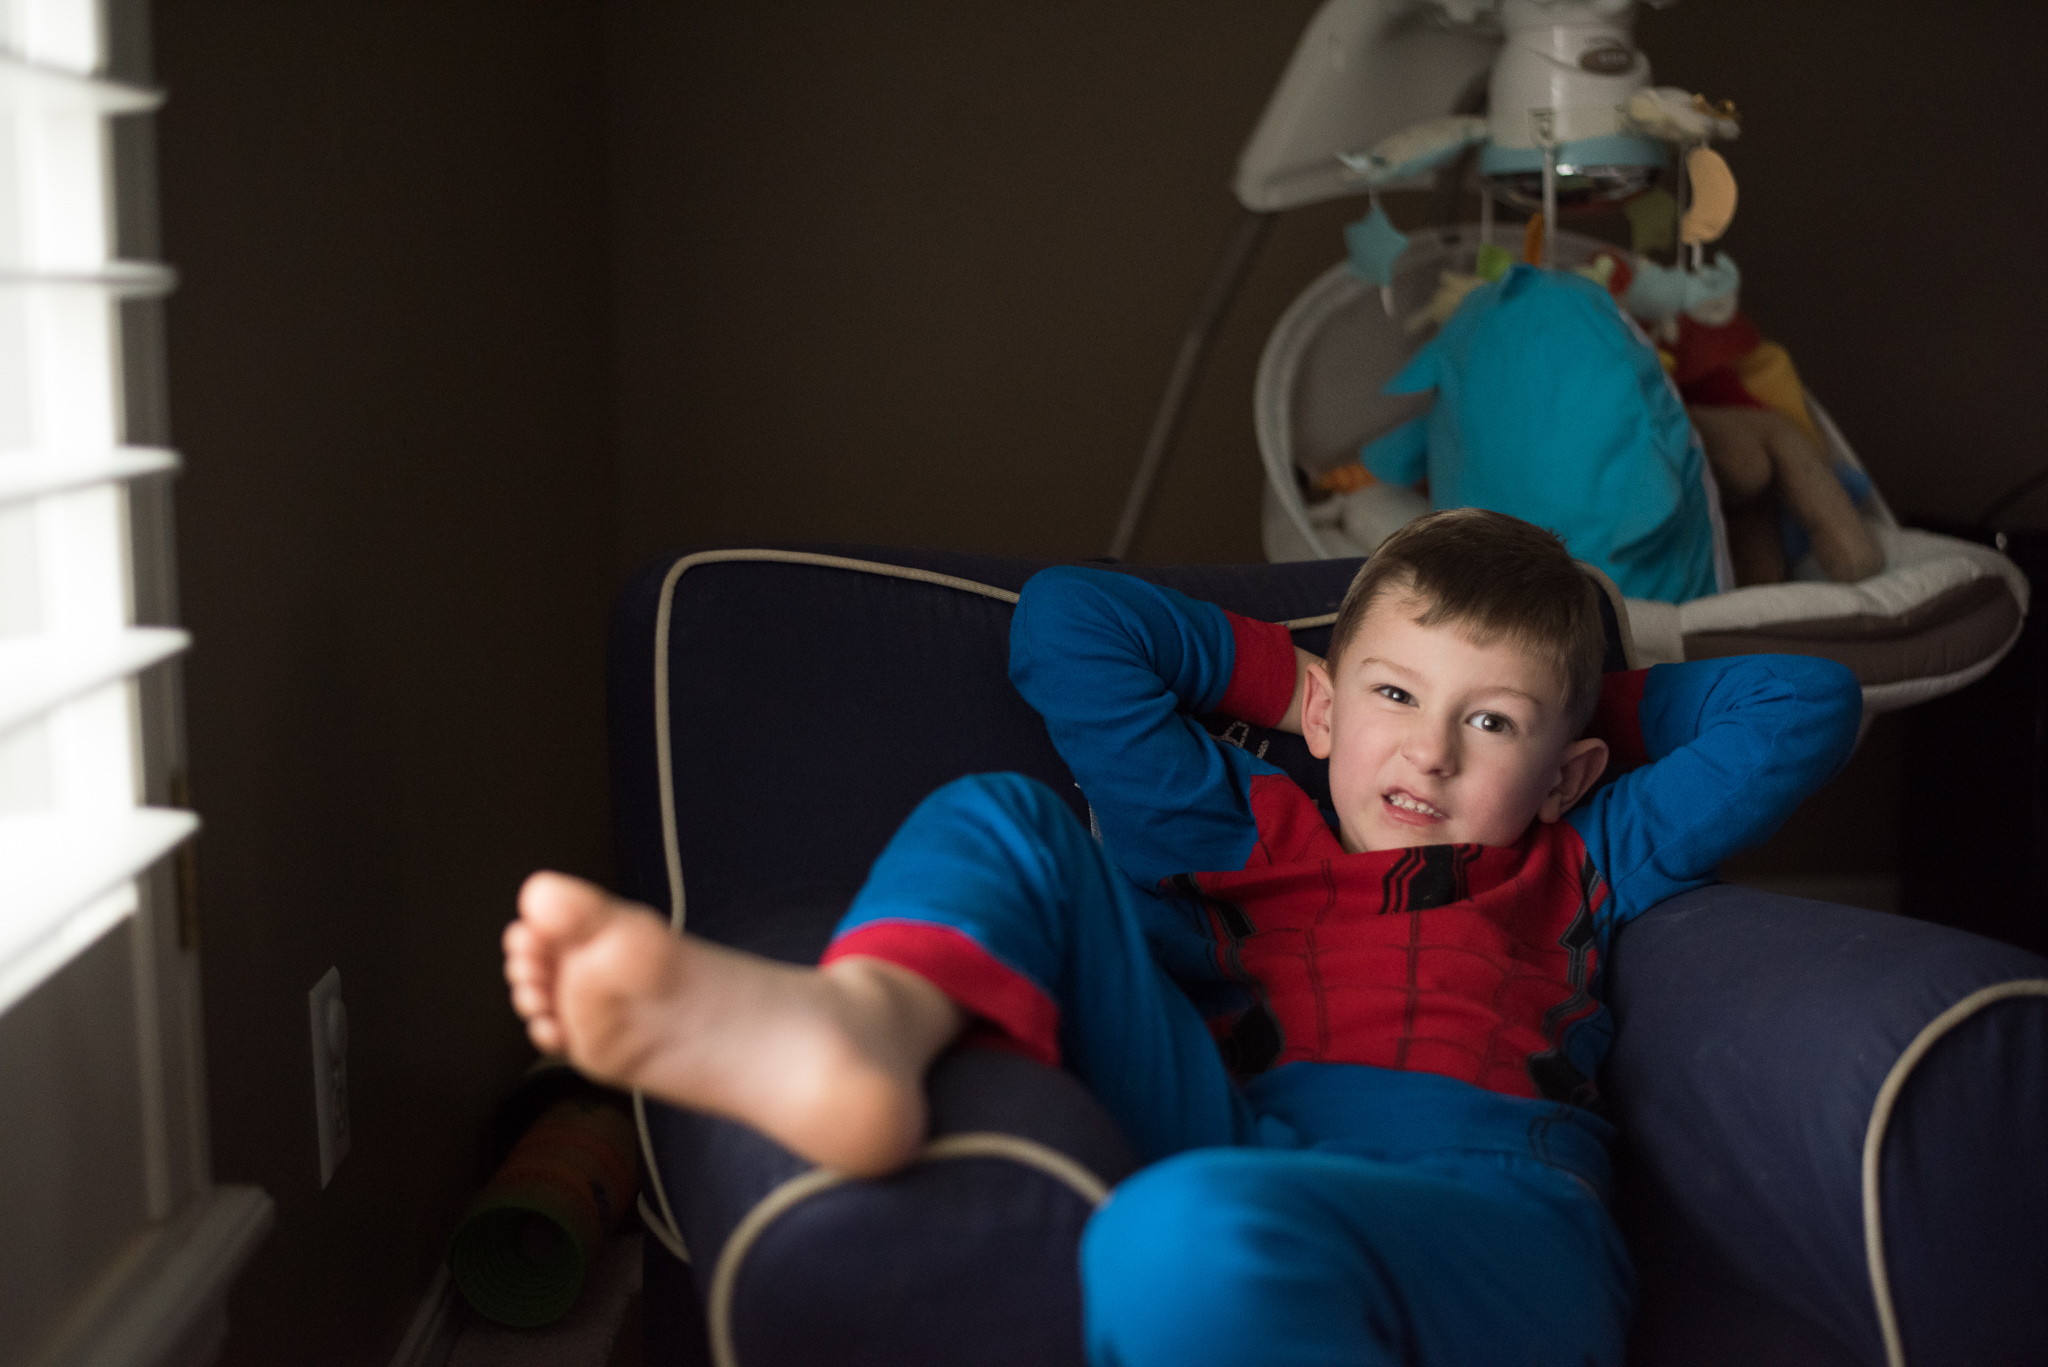
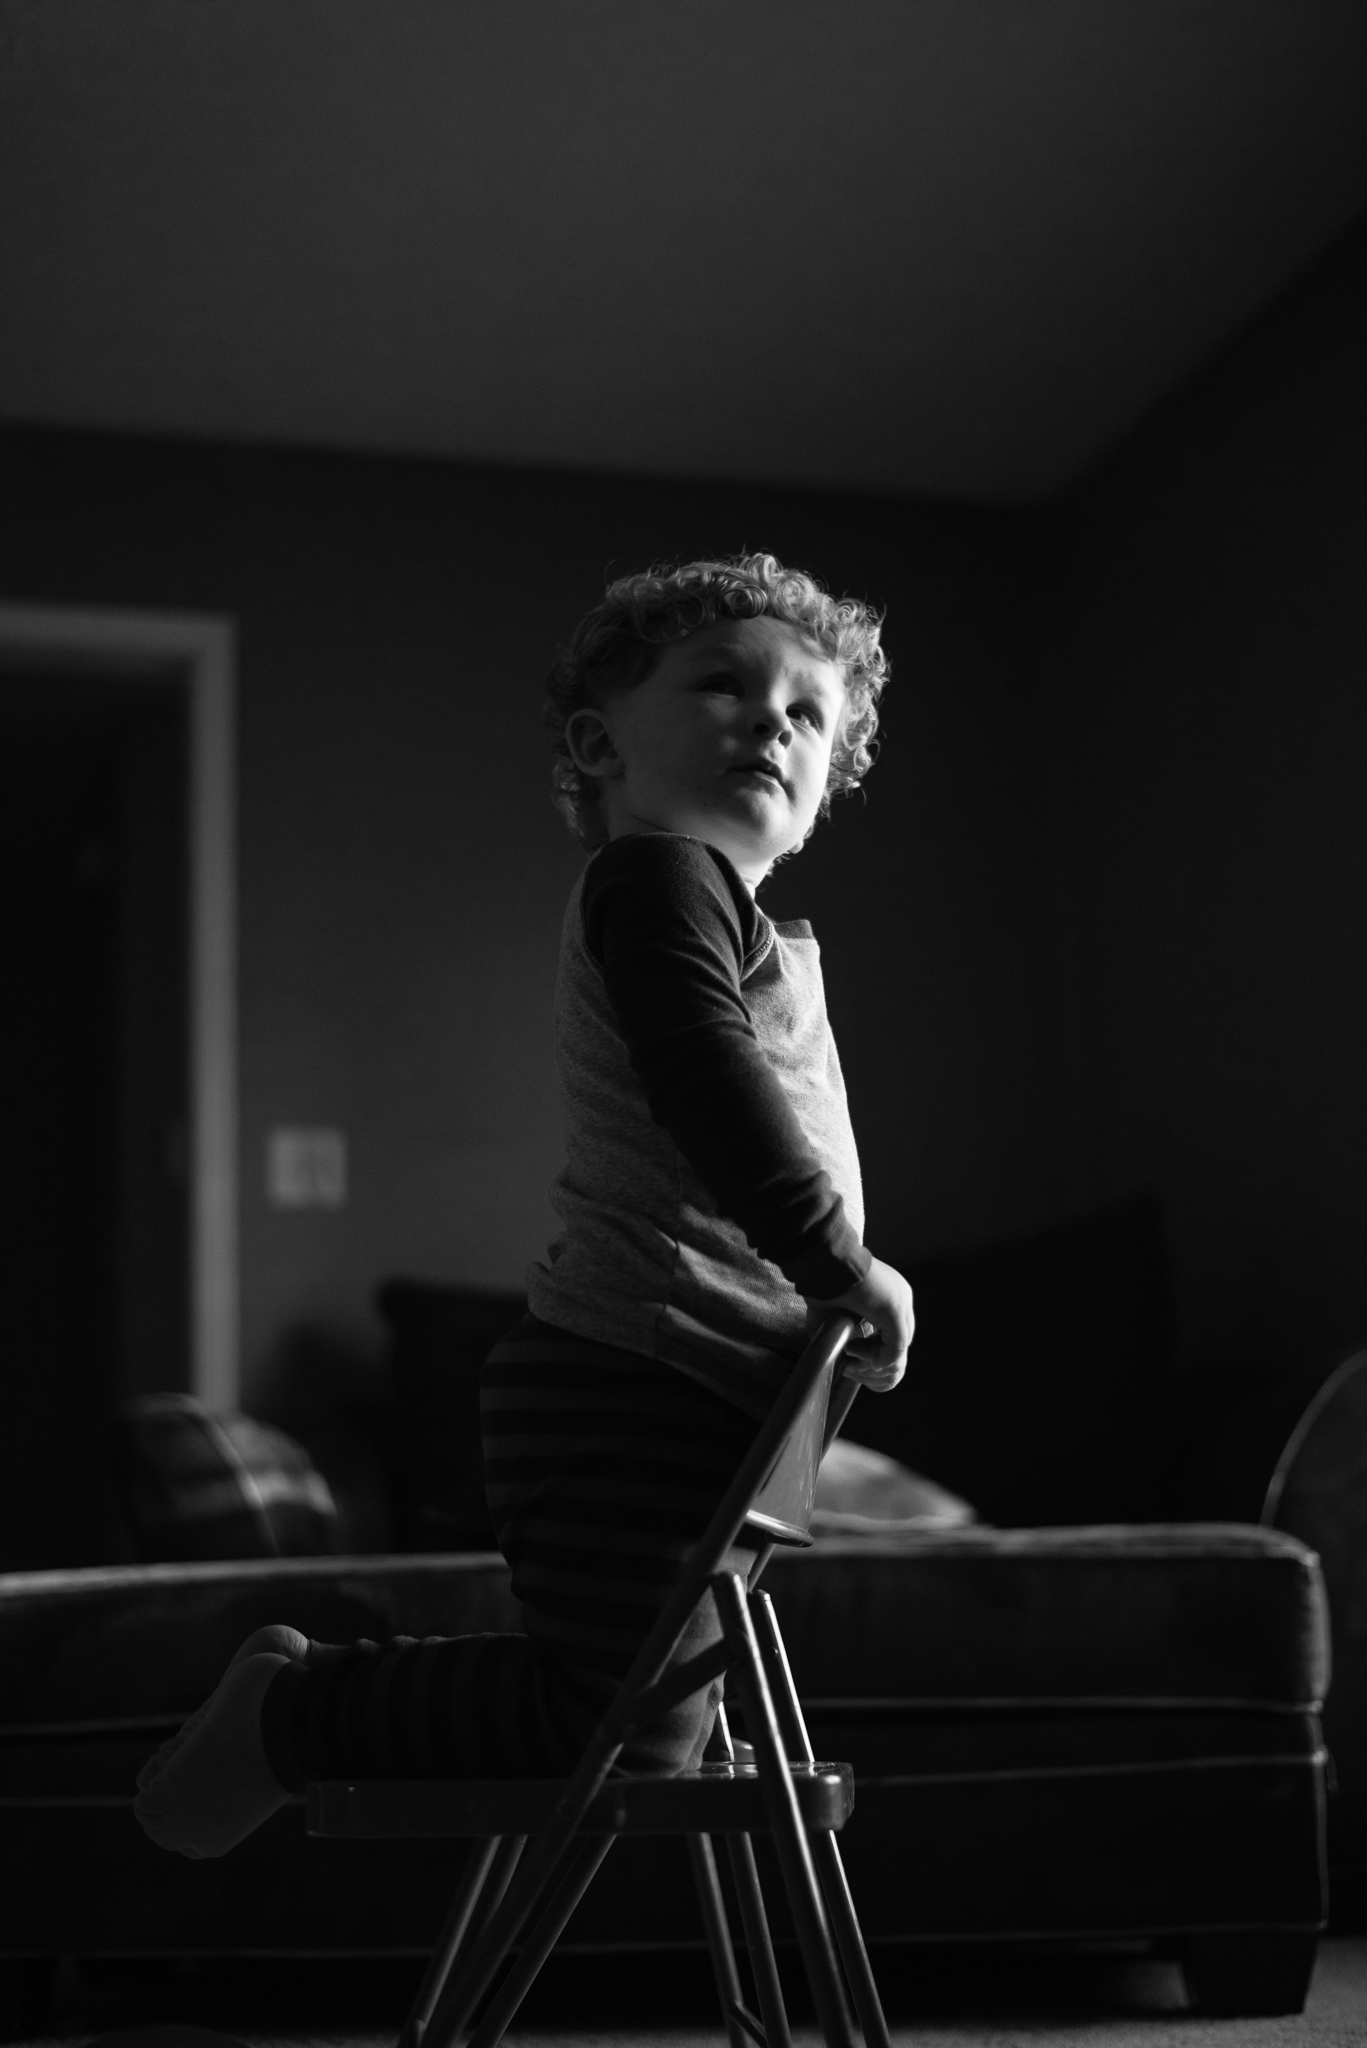
As you can see I am getting brighter and closer to proper exposure. Just by adjusting my ISO. Lets see what happens when we bump it up even further. ISO 6400 (max yours out)
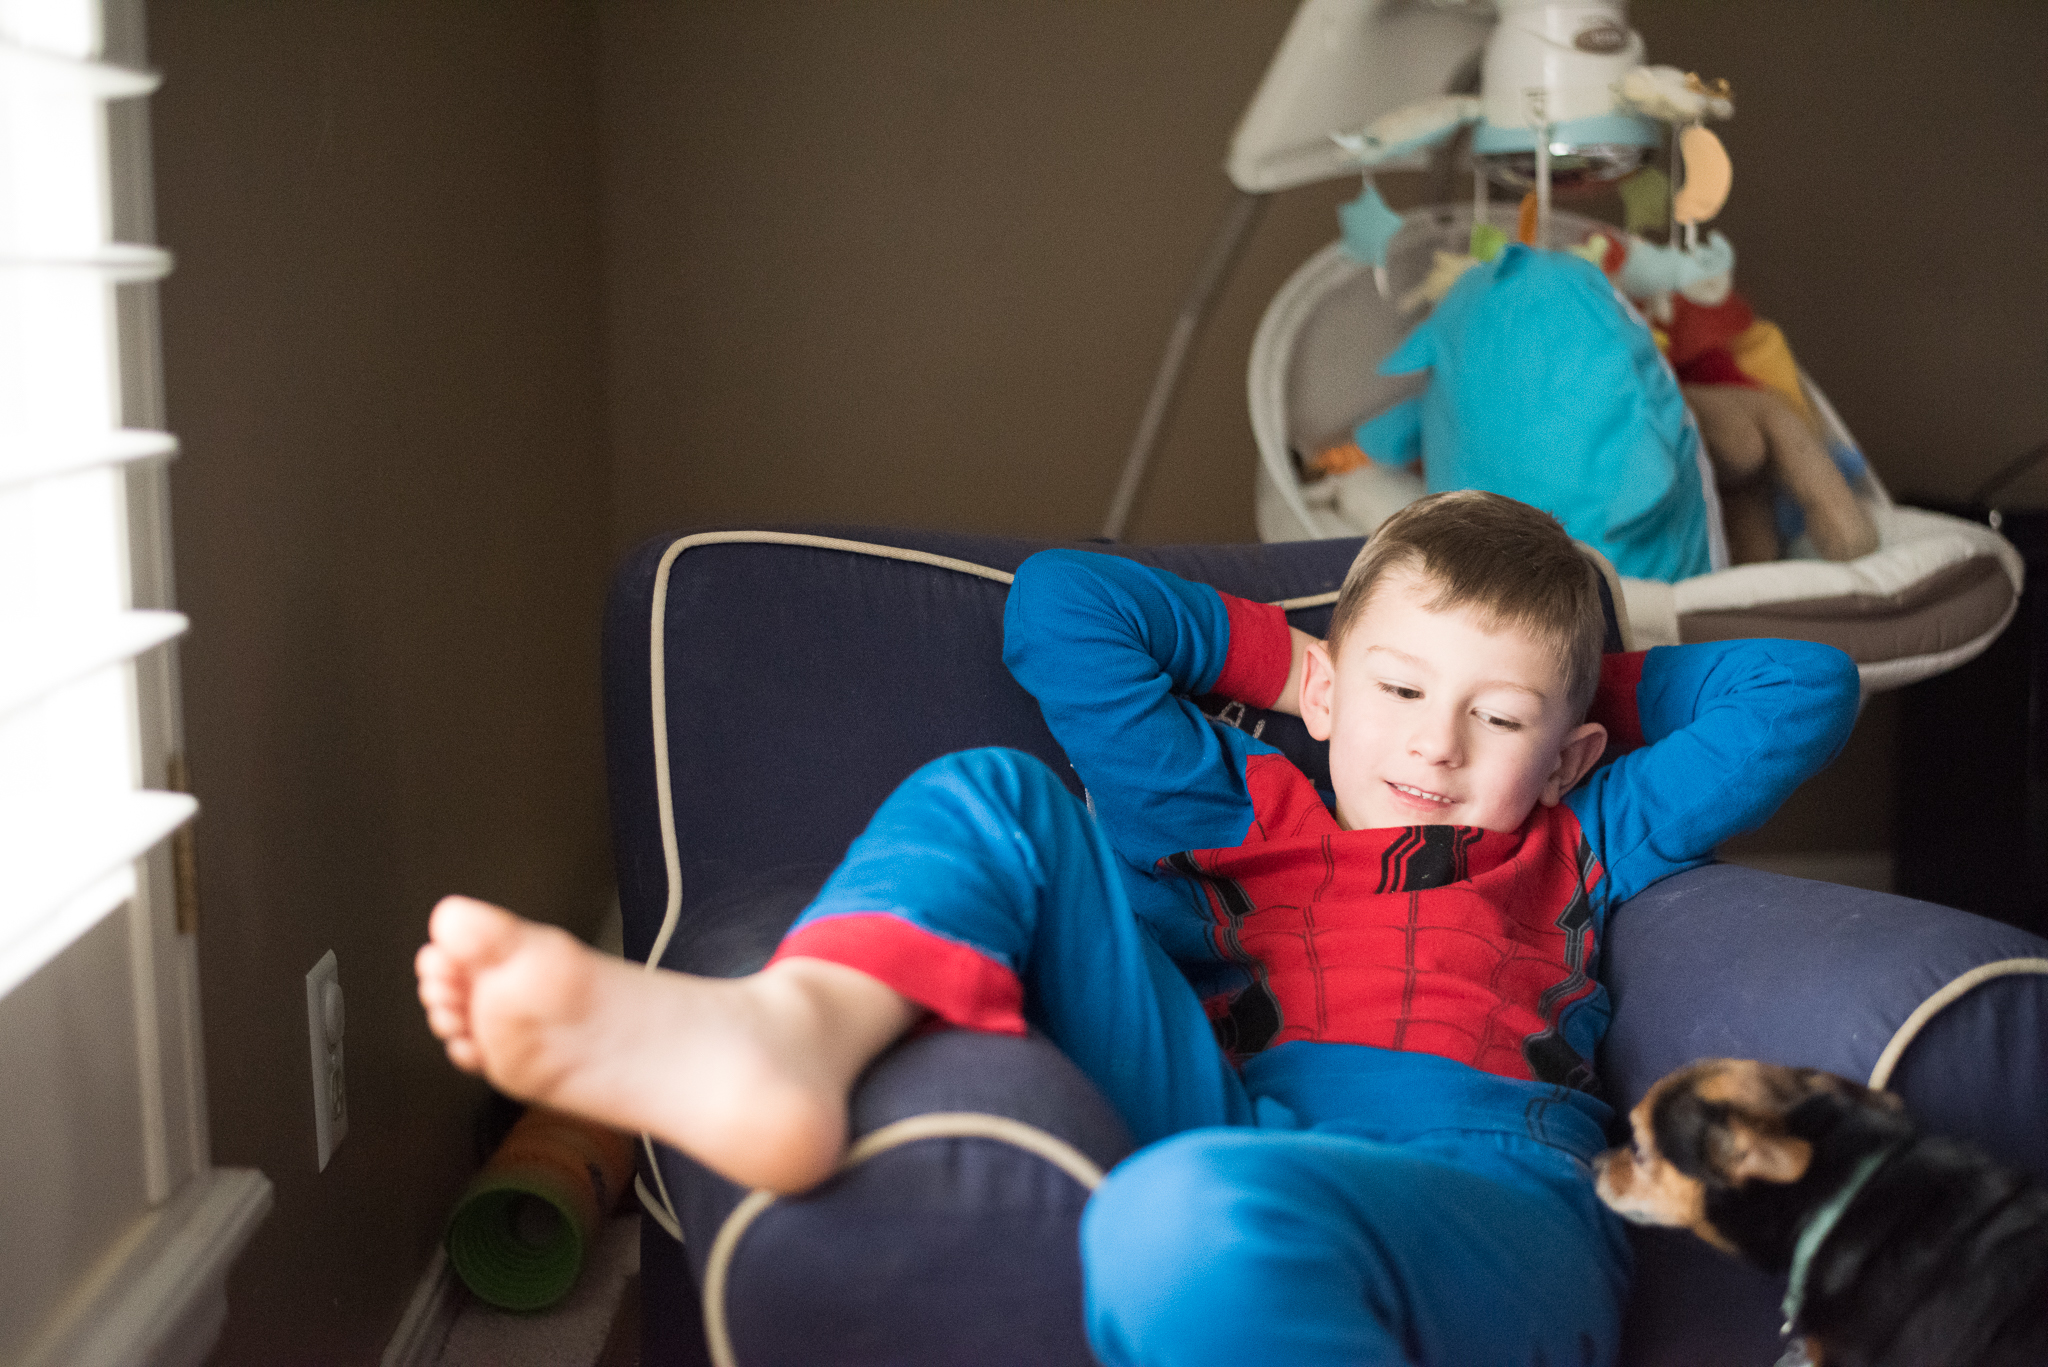
Now that you have maxed out your ISO, you can see you picture is a lot brighter. Most likely, it's what we call overexposed. A great way to tell how under or over exposed you are is using your camera's light meter. When you look through your view finder you should see a line on the bottom that looks like the one below.
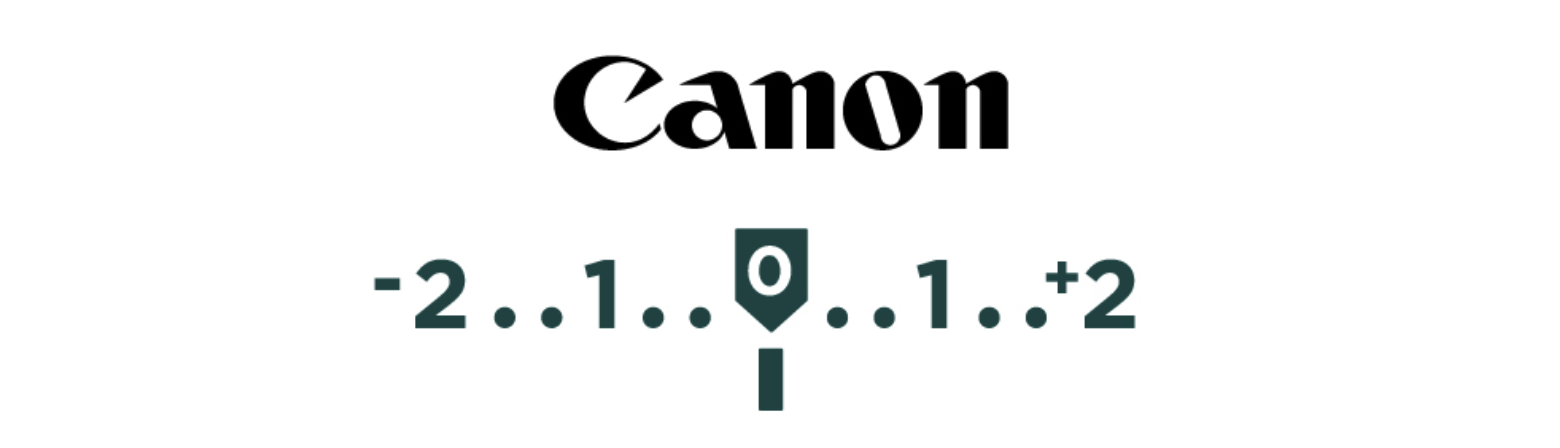
The rectangle at the very bottom moves left and right, as light and your camera settings change. When the rectangle is resting at 0, you're are properly exposed. When the rectangle is resting on a number to the left, you're under exposed. When the rectangle is resting on a number to the right, it's indicating you're over exposed.
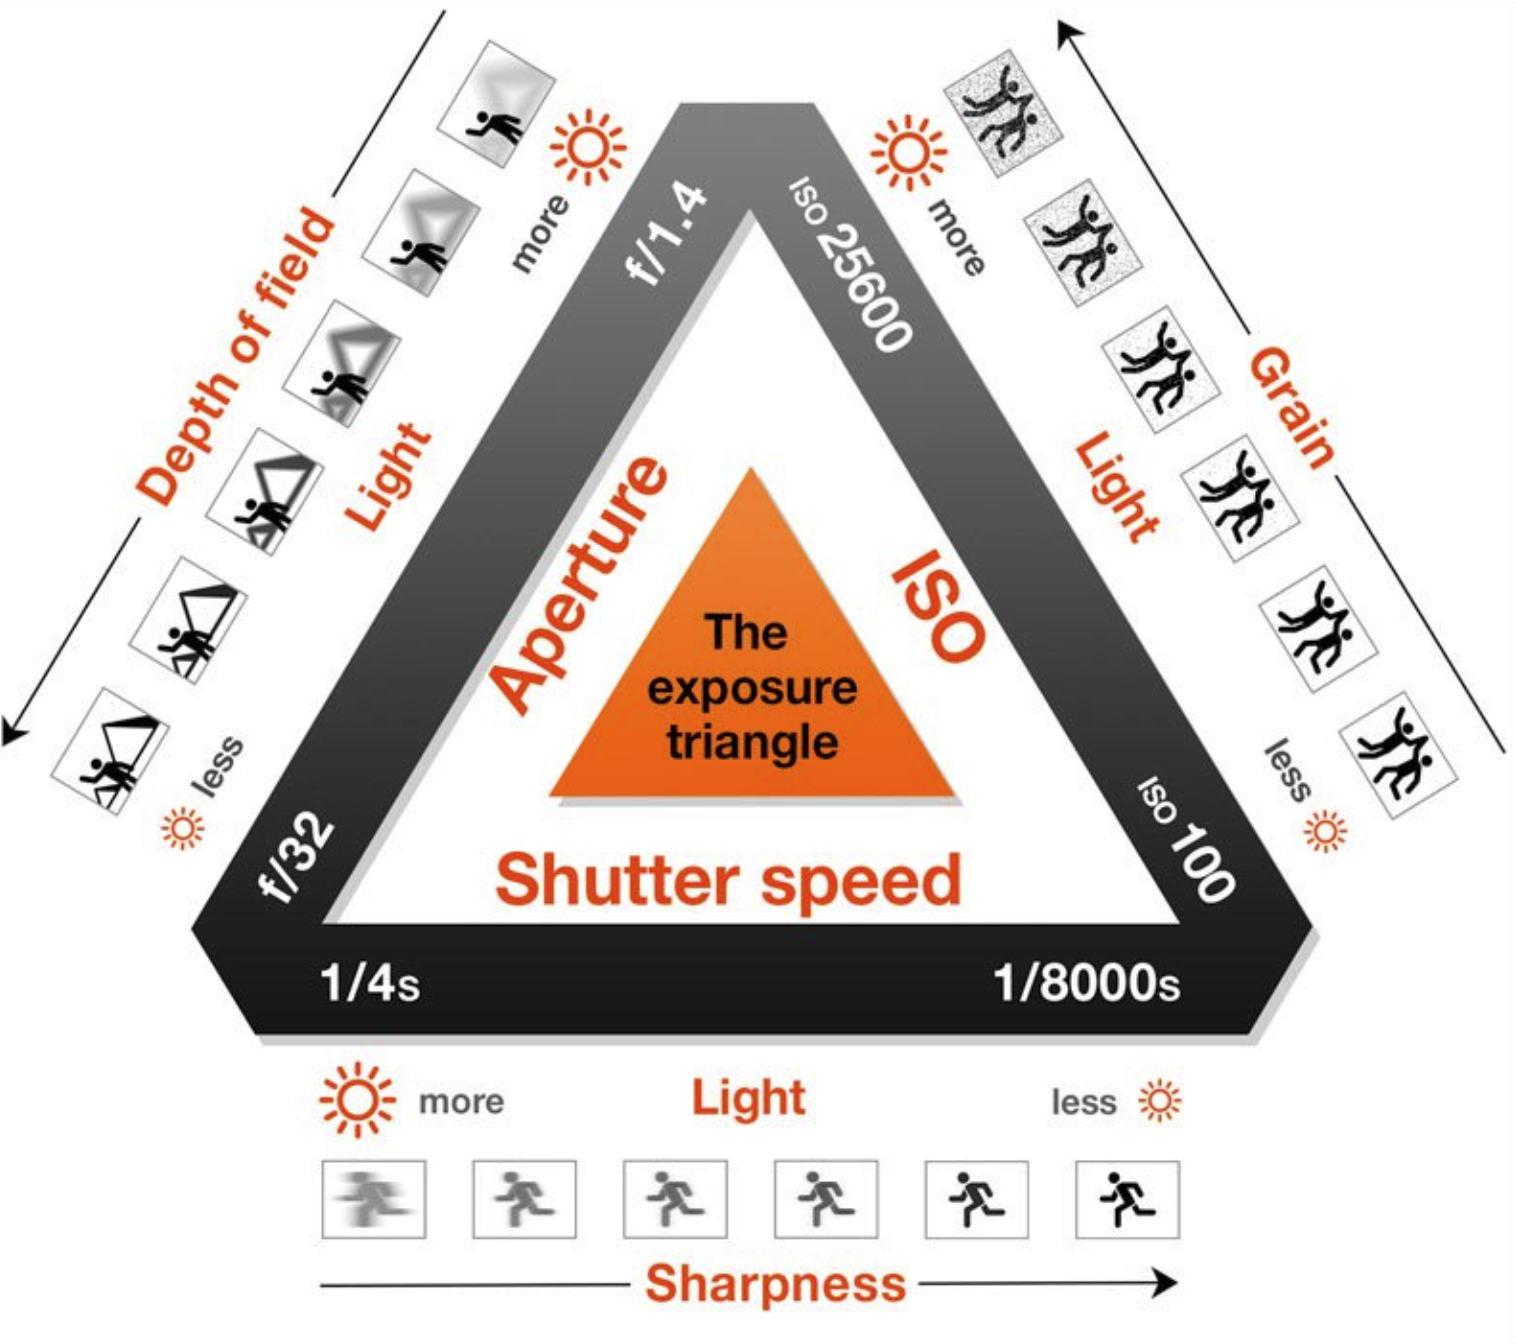
I encourage you to play around with adjusting different settings and seeing what happens to your light meter and exposure when you do. Below is a chart that illustrates how all three settings work together to properly expose a photograph.
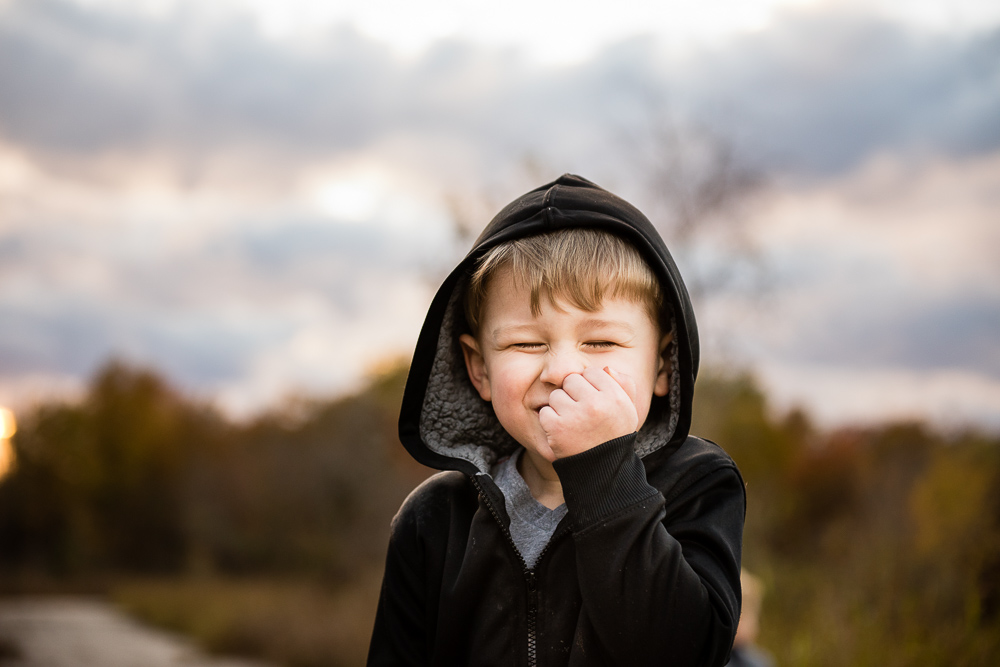
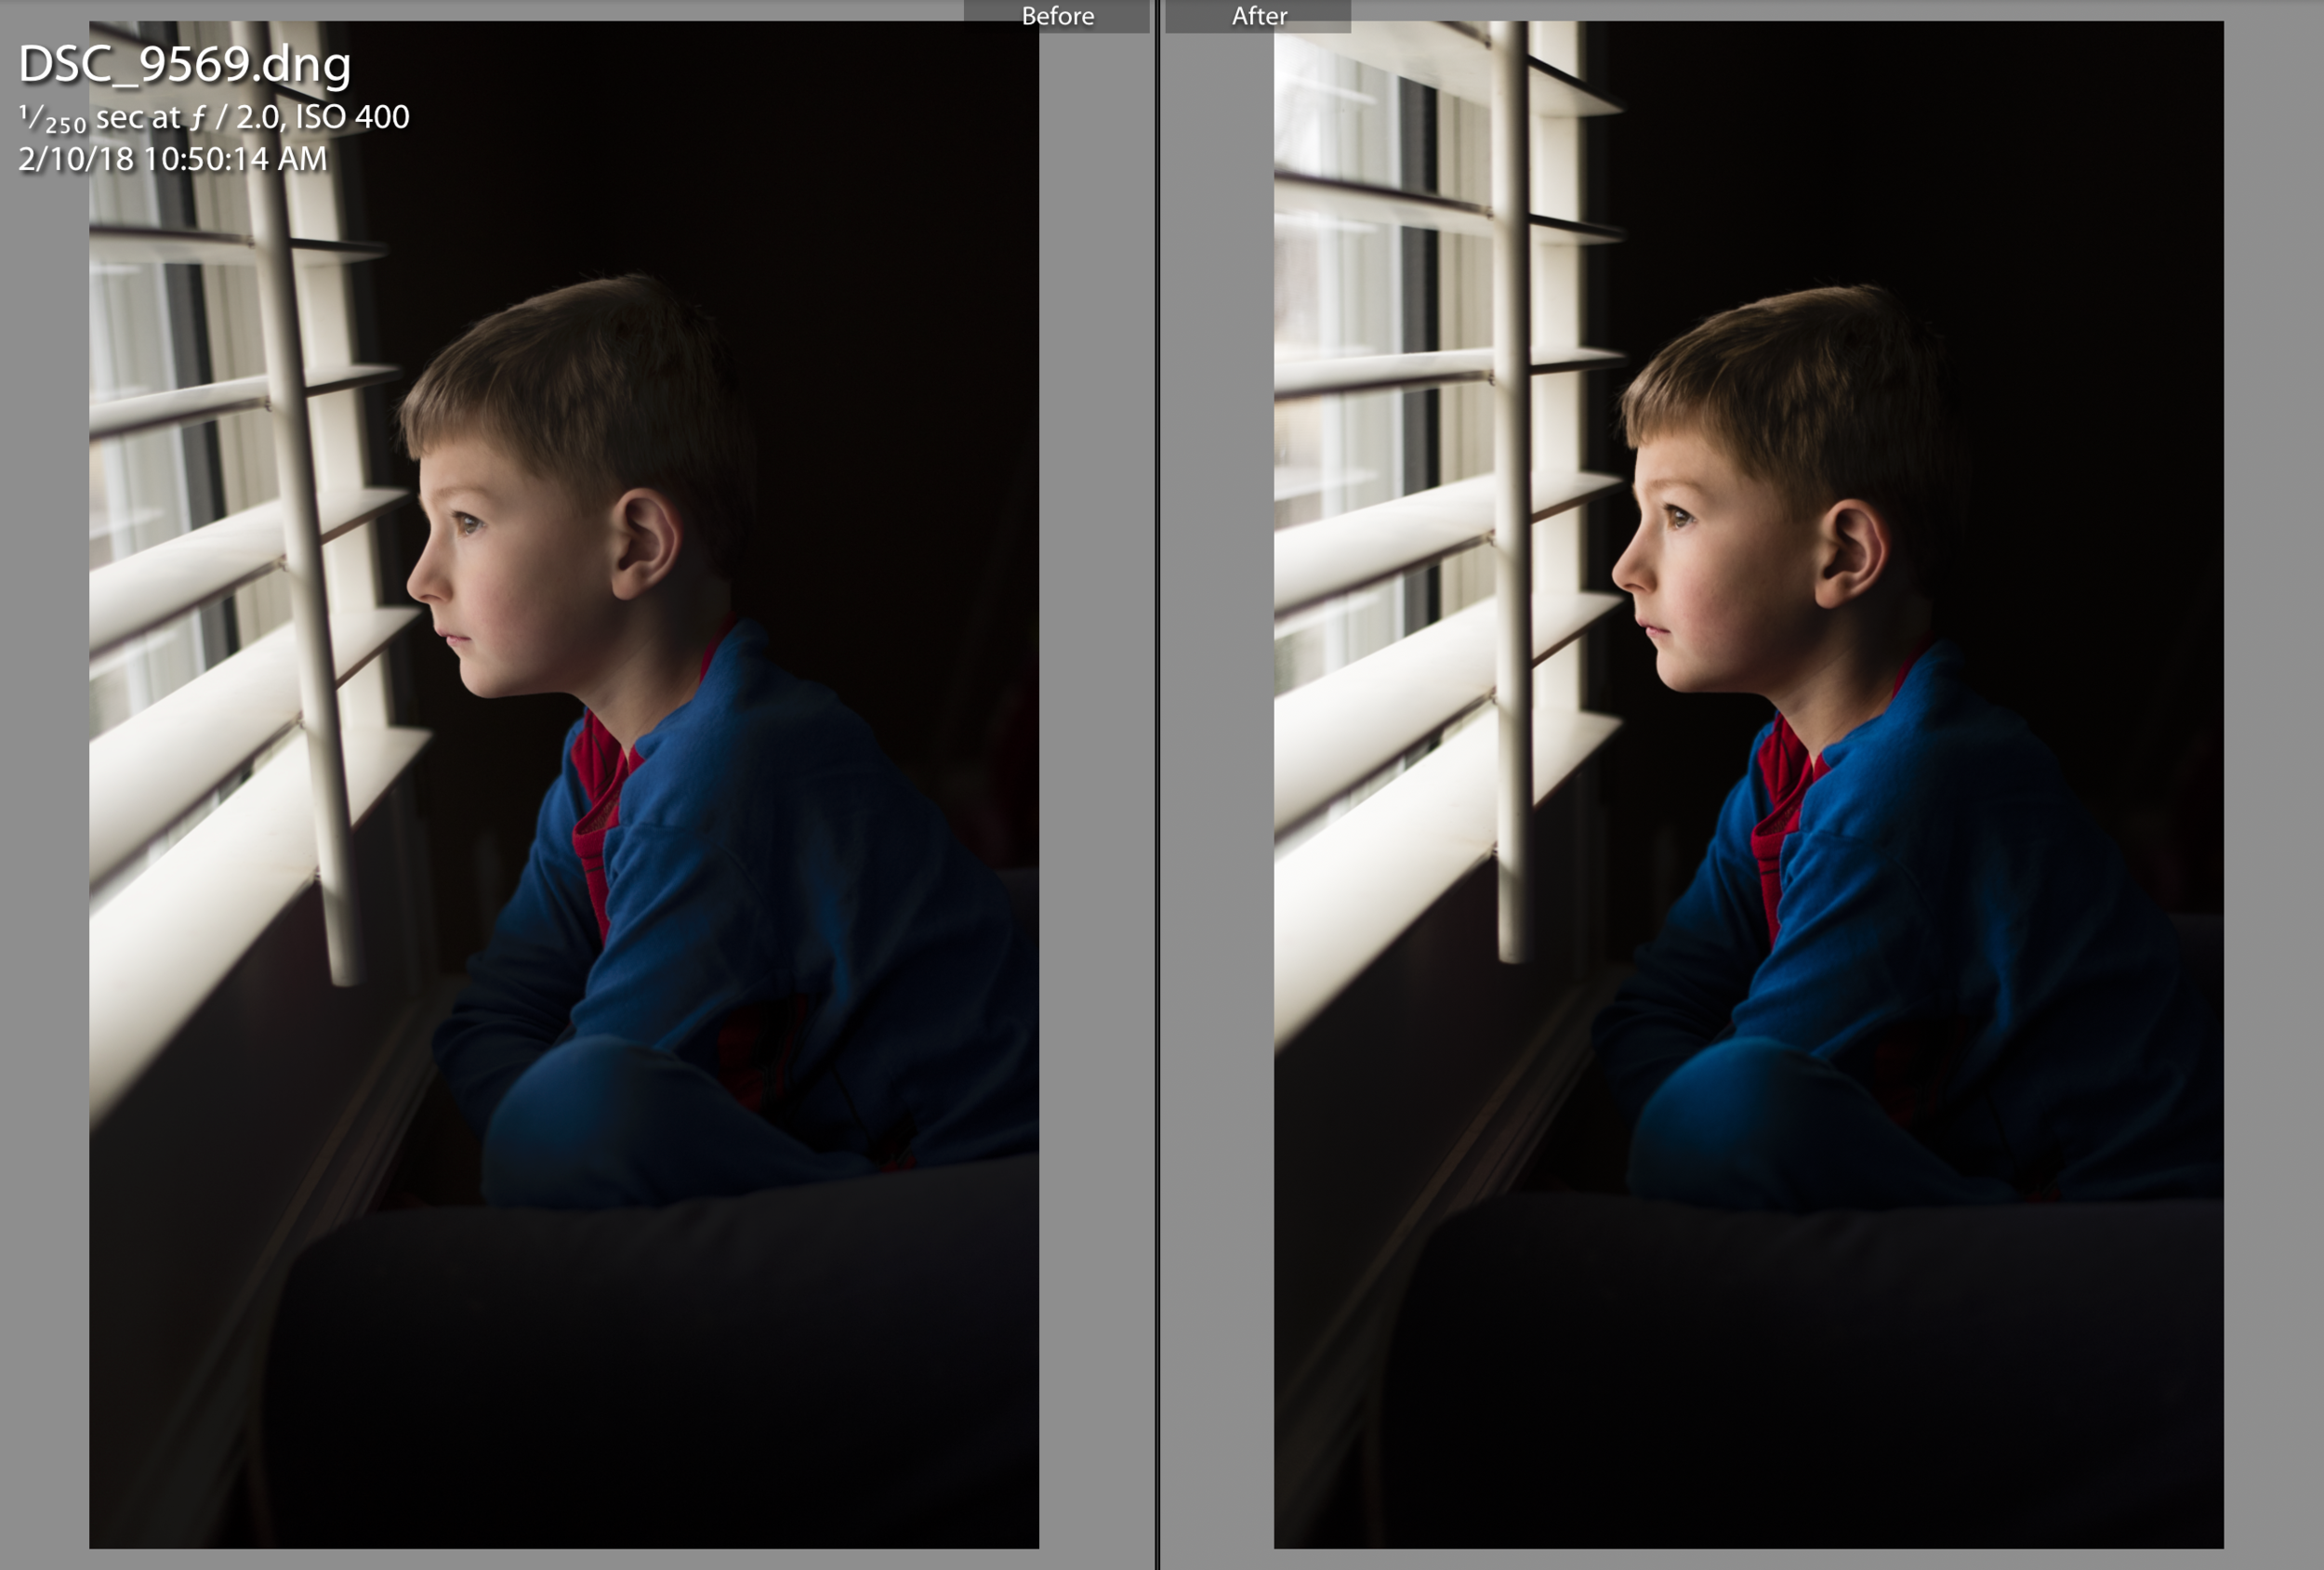
Below is a shot I got, in which I was really pleased with my settings and how I composed the photo. I also encourage you to try and recreate this shot. Your settings may be a little different and that is okay. This gives you a starting off point. This is a before and after shot. The left is strait out of camera (SOOC). The right is edited using Adobe Lightroom. Settings for this photo, 50mm ISO 400 F/2.0 Shutter Speed 1/250
Tip One
When I need my kids to sit still an gaze out the window, I play games with them. For this shot a simple game of "I spy" works great. Other times I ask them to count birds, look at the squirles. When my boys were really young they LOVED to watch the garbage truck pick up our garbage. Every Tuesday, I'd have my camera ready for the garbage.
Tip Two
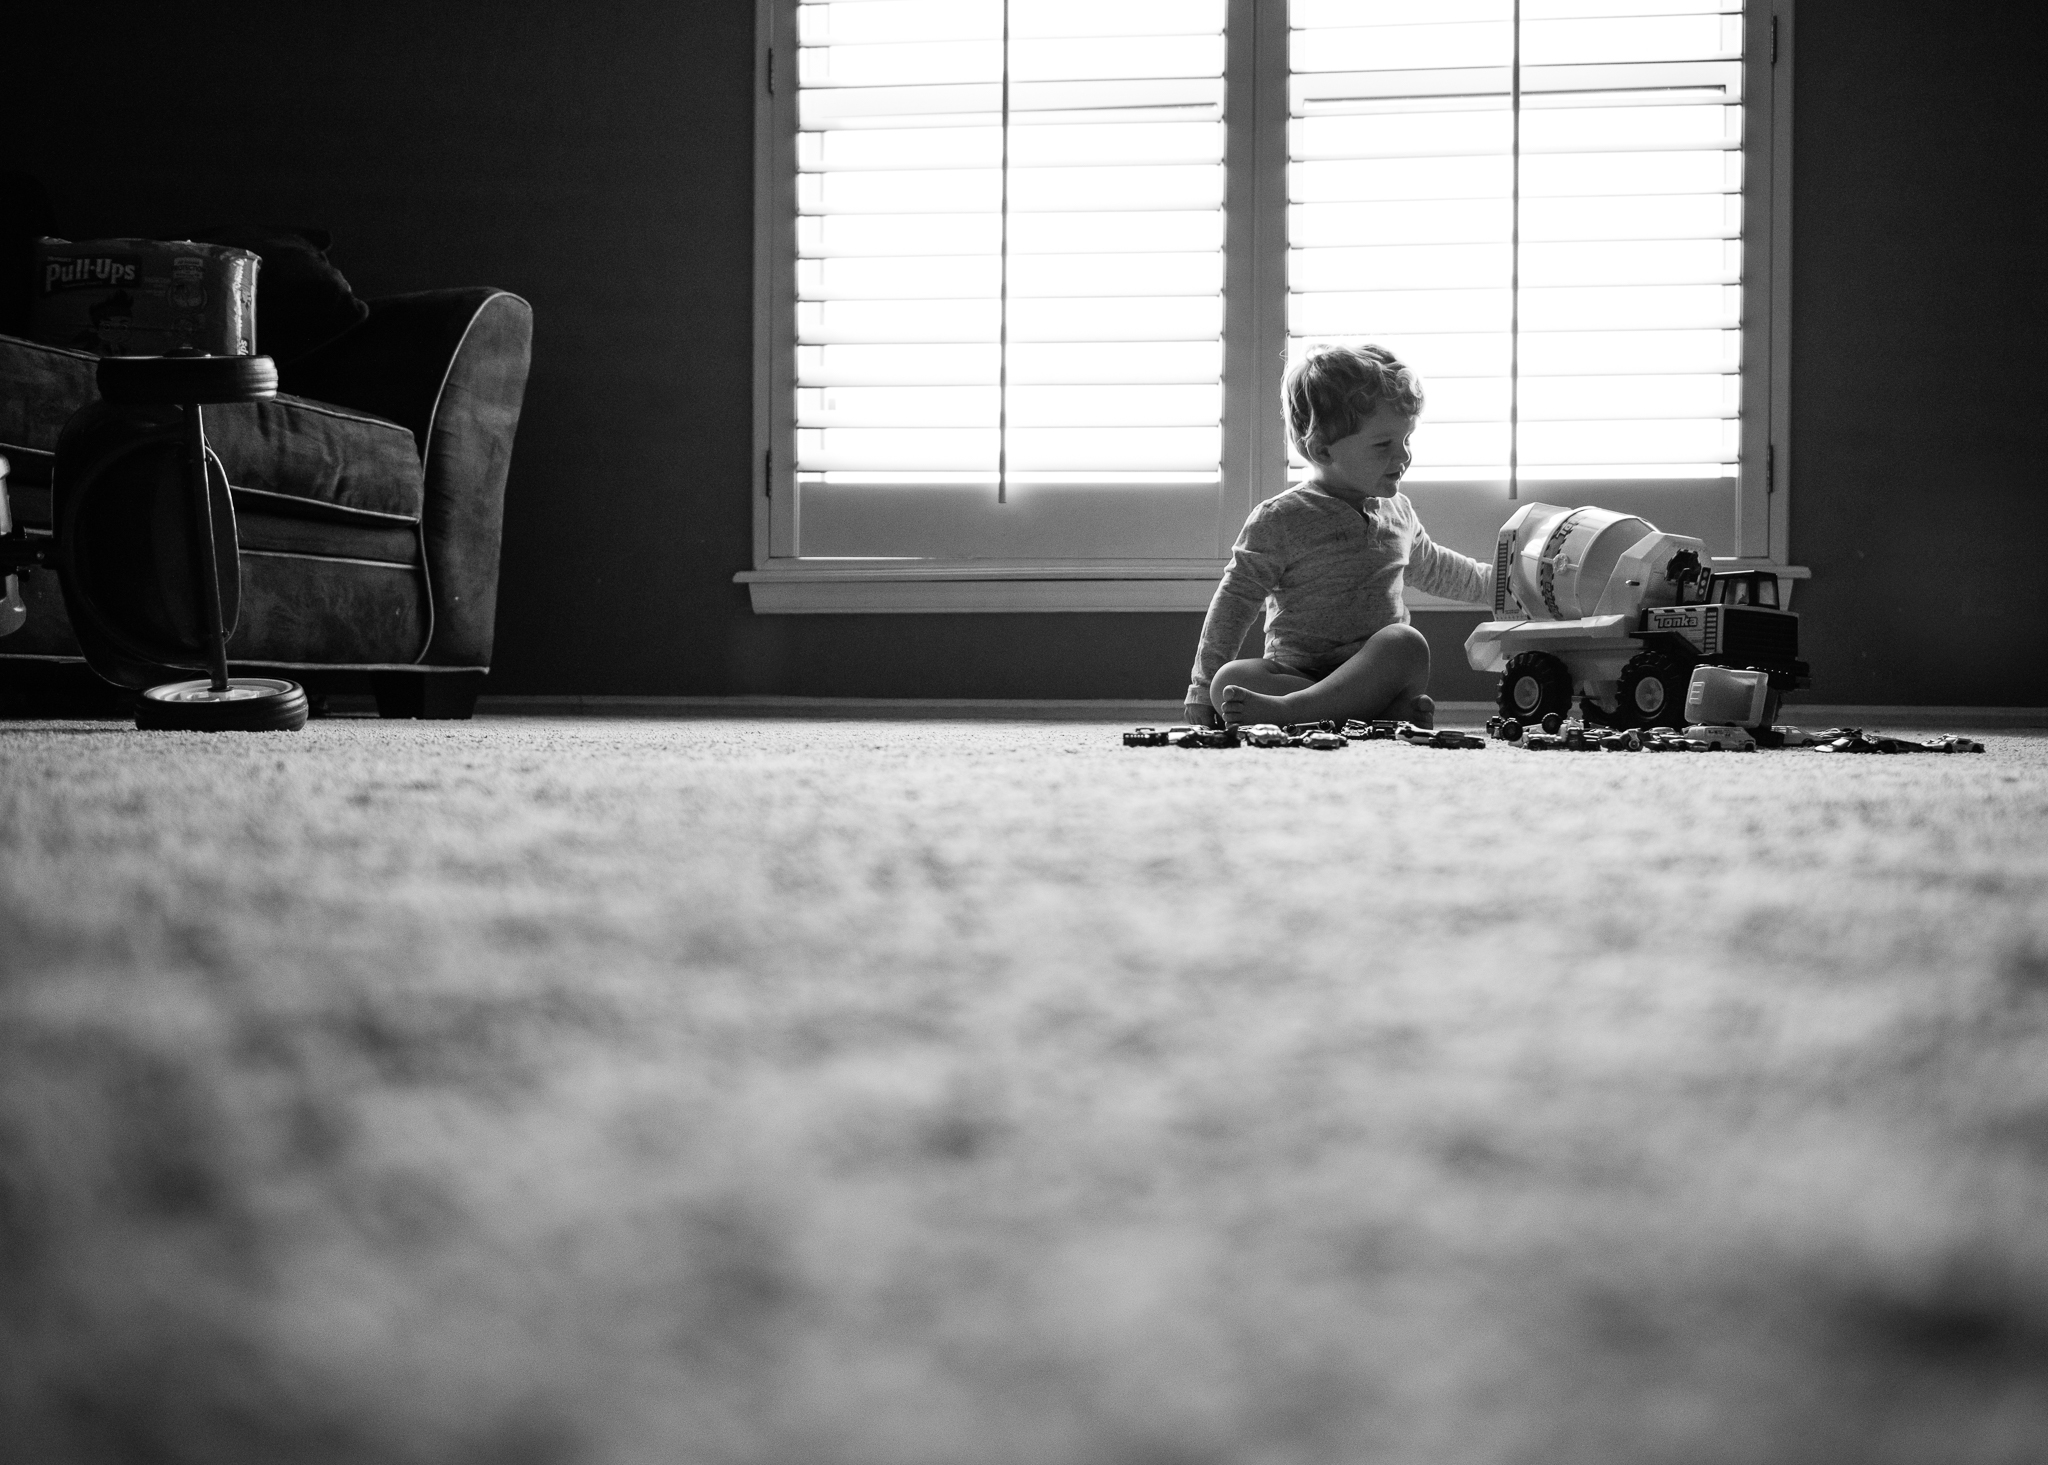
If you scroll up to my iPhone photo to the first picture on this tutorial, you'll notice there is no light source behind my son. The only light source available comes from the large window. Because of this, it creates dramatic, black negative space behind my subject. Really isolating him. You can try this same thing at home. If you have multiple windows in one room, make sure all of them are closed but one. Especially light sources behind your subject. Light sources in front of you subjects will give you more light.